Clean, readable tattoo stencils are one of the fastest ways to improve placement confidence and keep a session moving smoothly. When your lines print clearly, transfer true-to-size, and stay put through wiping, you spend less time reapplying and more time tattooing.
This guide walks through the full stencil workflow—from stencil paper prep, to printing, to skin transfer—using the core stencil essentials available at InkPro: Tattoo Stencil Transfer Paper, FURY Wireless Tattoo Stencil Printer, and FURY Stencil Transfer Gel.
What you need for consistently sharp tattoo stencils
A reliable stencilling setup has three parts:
- Stencil paper that holds crisp detail and transfers cleanly
- A stencil printer that prints at the right scale (so your tattoo stencils don’t shrink or stretch)
- Tattoo stencil gel that grips well and resists smudging
InkPro’s product pages are built around this exact system: high-visibility transfer paper, a wireless stencil printer that doesn’t auto-resize, and a fast-drying transfer gel designed for long sessions.
Step 1: Stencil paper preparation (the part most people rush)
If you’ve ever had a stencil come out faint, fuzzy, or “blown out,” the issue often starts with stencil paper choice or setup.
InkPro’s Tattoo Stencil Transfer Paper is described as a high-visibility thermal carbon paper with a purple dye layer, designed for both thermal printers and hand-drawn stencils. It’s sized around 210 × 300 mm (~A4) and can be trimmed to fit the placement area.
Why stencil paper matters for tattoo stencils
- High contrast = easier reading on skin, especially for fine linework and intricate designs.
- A4-style sizing makes printing and alignment more predictable across different designs.
- Dual-use flexibility (printer + hand-drawn) helps when you want quick edits or custom adjustments.
Practical prep tips (high level)
- Keep your paper clean, flat, and protected from moisture and friction.
- If your stencil output looks wrong, double-check paper orientation/loading before blaming the printer—paper setup is a common failure point.
Step 2: Printing tattoo stencils with accurate scale and clean detail
The goal of a stencil printer isn’t just “printing.” It’s printing true-to-size with minimal distortion—especially important when you’re working around body contours or matching existing work.
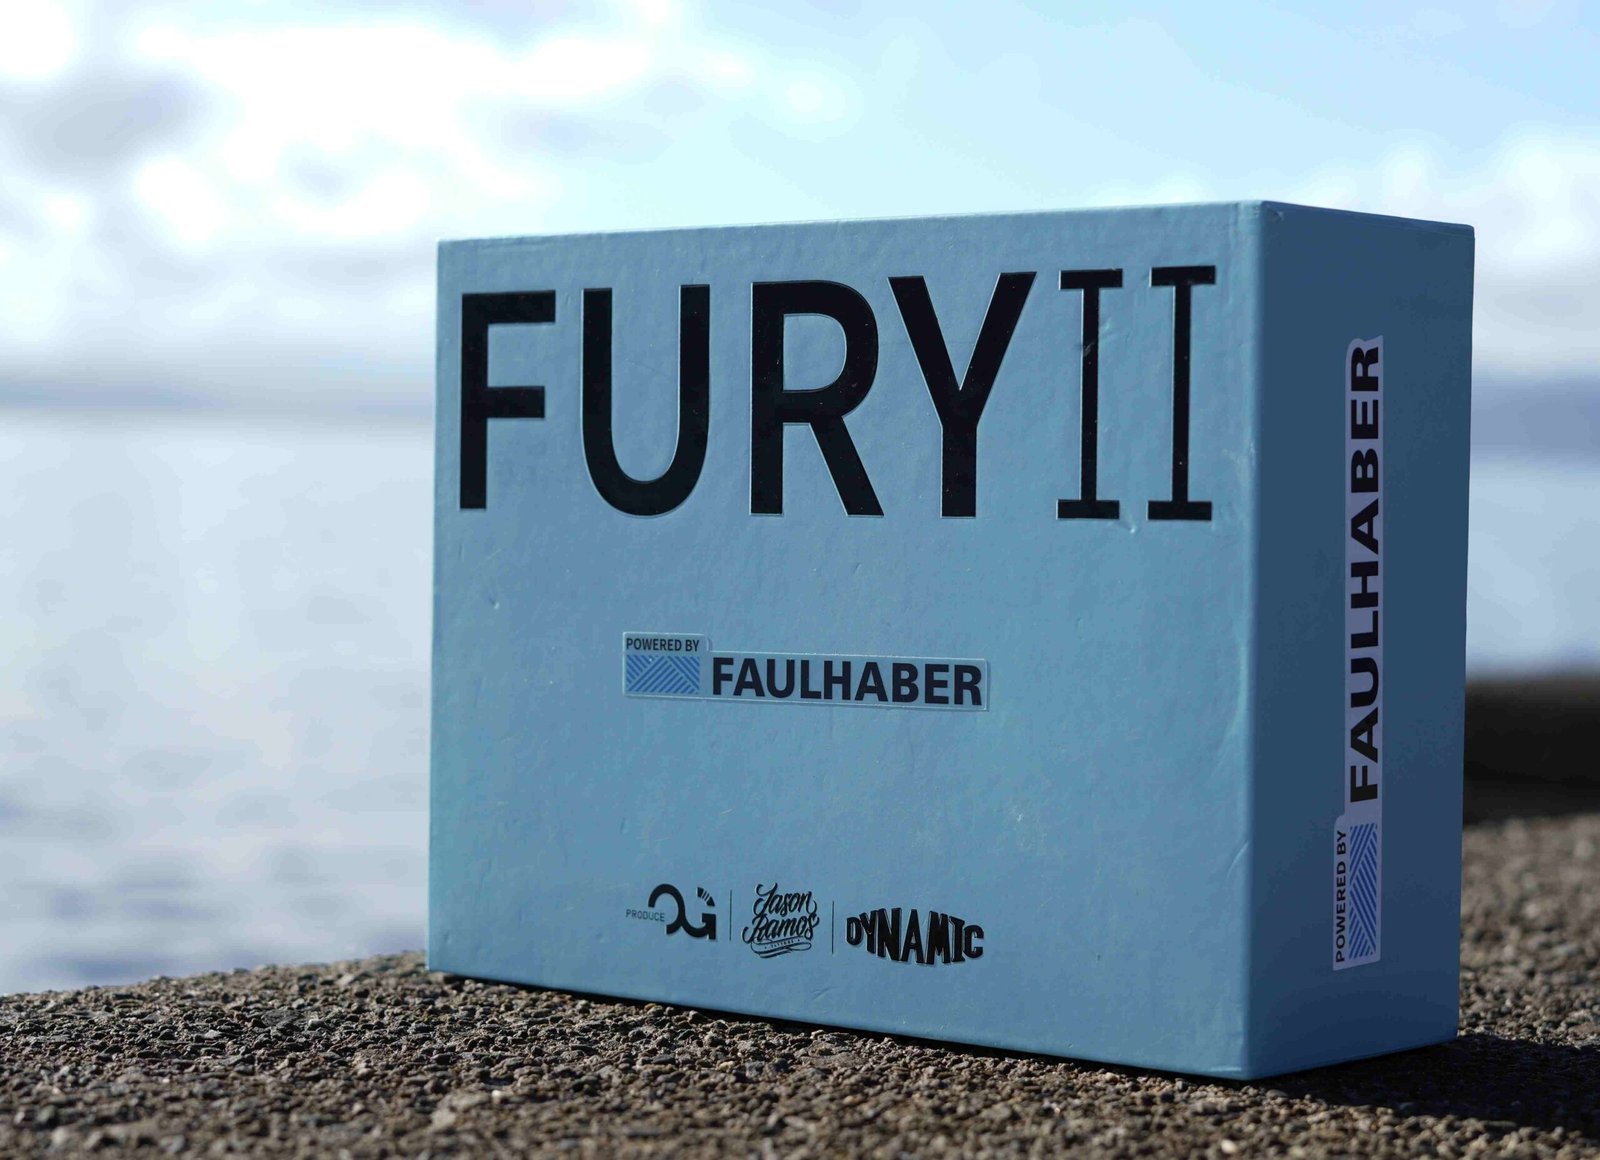
InkPro’s FURY Wireless Tattoo Stencil Printer is positioned as a compact, professional wireless option that prints from mobile or desktop using Bluetooth or USB, handles complex designs with zero distortion, and does not auto-resize (so your artwork scale stays as intended).
Specs that support a smooth stencil workflow
From the product listing, the printer includes:
- 203 dpi print resolution
- 210 mm (A4) print width
- Bluetooth & USB connectivity
- 2500 mAh battery (approx. 3 hours operation) + USB-C charging
- Compatibility with iOS / Android / Windows / macOS
- Support for A4 thermal stencil paper
- No auto-resizing to preserve artwork scale
- 12-month warranty
What this means in real life
- Your tattoo stencils come out consistent (less “why does this look bigger today?”).
- Wireless + battery makes it easier to keep your station neat and mobile.
- A4 width and standard media support keeps your process repeatable.
Step 3: Skin transfer with tattoo stencil gel (where stencils succeed or fail)
Even a perfect print can turn into a smudge if transfer prep is rushed. This is where tattoo stencil gel matters—because it’s the adhesion layer that decides whether your lines stay sharp for the whole session.
InkPro’s FURY Stencil Transfer Gel 200g is described as a professional stencil gel designed for crisp, smudge-free transfers and long-lasting adhesion, aimed at “wipe-heavy sessions.” It’s also described as skin-safe, non-toxic, and alcohol-free, with added antimicrobial extracts and moisturisers.
How InkPro describes the transfer process (simple + repeatable)
The gel page outlines a straightforward workflow:
- Clean/shave/disinfect the area
- Apply a thin layer of gel
- Press stencil firmly for 5–10 seconds
- Let it set and air-dry a few minutes before tattooing
The two biggest tattoo stencil gel mistakes
- Too much gel → pooling and smudging
- Not enough set/dry time → stencil wipes off early
If you want sharper tattoo stencils, “thin and even” is usually the fastest improvement.
Why this “system” approach works (and how InkPro fits naturally)
When you standardise your workflow—stencil paper + printer + tattoo stencil gel—you reduce the variables that cause reprints, re-transfers, and redraws. That’s the logic behind InkPro’s stencil lineup:
- Tattoo Stencil Transfer Paper for high-contrast detail and A4-style consistency
- FURY Wireless Tattoo Stencil Printer for clean printing, A4 width, and no auto-resize scale accuracy
- FURY Stencil Transfer Gel for crisp transfer, fast dry time, and long-session hold
If you’re aiming for tattoo stencils that look the same every time—this kind of matched setup is the simplest route.
Conclusion
The complete stencilling process isn’t complicated—but it does need consistency. Start with dependable stencil paper, print with a setup that preserves scale, and finish with tattoo stencil gel applied thinly with enough set time. When those three pieces work together, your tattoo stencils stay crisp, readable, and reliable from placement through the session—exactly what InkPro’s paper, printer, and gel workflow is designed to support.